Grasshopper
Friday March 18, 2016

Merry Christmas 2014
Wednesday December 24, 2014
Demo Reel
Thursday August 15, 2013
Below is a Demo Reel of some of my student work:
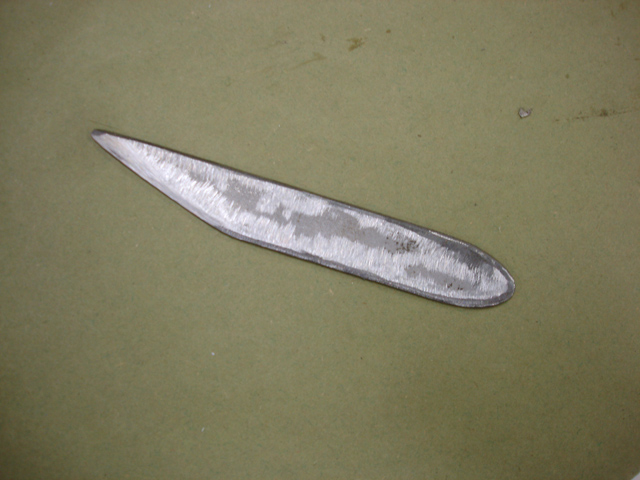
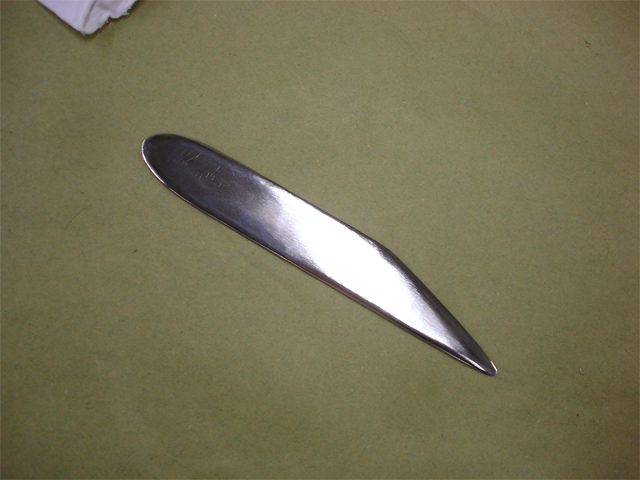
Letter Opener | Bone Folder
Thursday April 12, 2012
About two years ago I decided to make myself a plastic Bone Folder. I redesigned the tool from the traditional Bone Folder shape in a way that enabled it to also be used as a letter opener. It was a great tool but because it was made out of plastic and since I used it extensively, it ultimately shattered to pieces. And so this once highly functional object had been seating on my desk for some times, shattered and rendered useless. So one day, as I was picking at my brains searching for the best birthday present to make for an awesome person who just so happens to be a letter enthusiast, I found an irresistible urge to craft a metal version of the tool. As soon as I got the chance, I crafted a first tool out of a piece of steel flat. The Letter Opener / Bone Folder tool came out far better than the original plastic one and my only regret was that I only had made a single one of these tools and would give it away. Naturally, I came back to the metal shop days later and made a second tool for myself!
Below are photographs of the process I took as I was making the second tool:

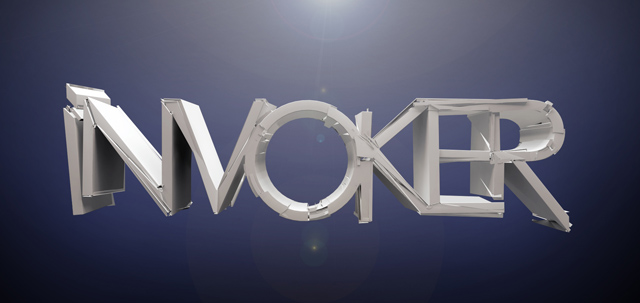
Invoker Logo
Wednesday March 28, 2012
Here is a probono logo project I recently made for a good friend of mine. I was given the jpg image of the logo below and was asked to create a dynamic 3D version of it. I first started by making a simple extrusion of the logo and then imported the solid model into 3D Studio Max to experiment with a few dynamic particle functions. Obtaining the desired effect was seemingless and this 3D logo was made in a matter of hours.
If you would like to see Invoker's blog and listen to his music here is a link to his Facebook page: http://www.facebook.com/InvokerMusic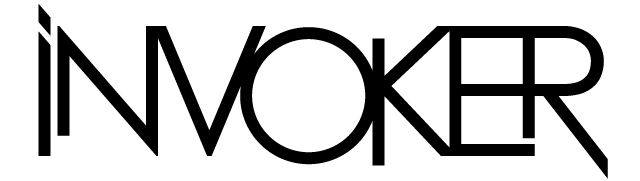
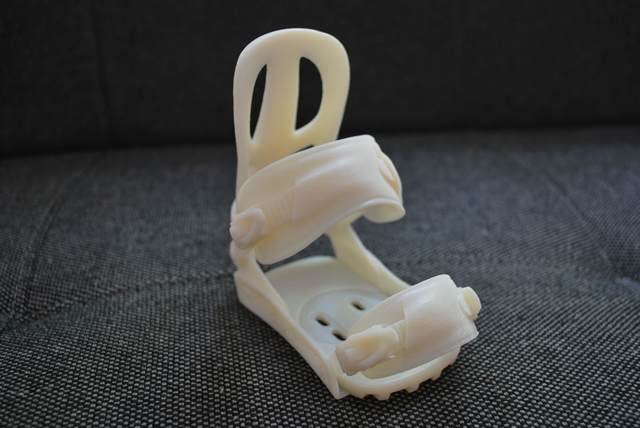
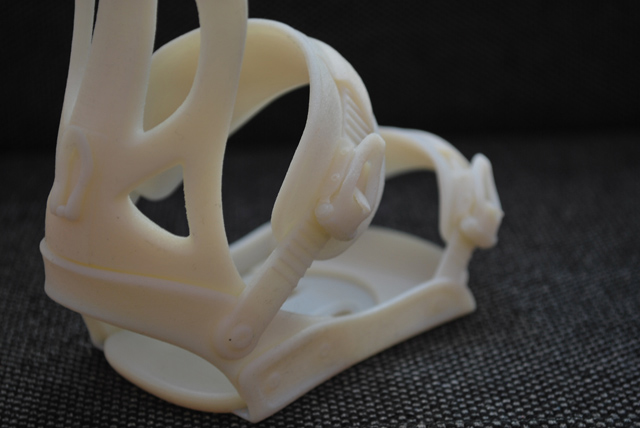
Snowboard binding 3D printing
Friday February 10, 2012
If you are interested in watching my 3D Stereolithography model video, please look below; otherwise if you'd like to follow in my footsteps or are intrigued in the work process, here is a short break down of how one should go about 3D printing a complex 3D model.
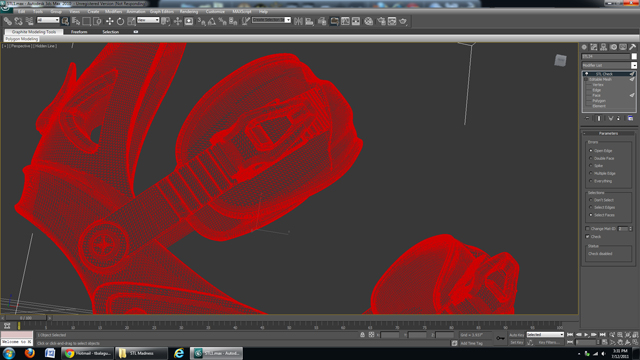
First and foremost, you must make your 3D model one or multiple solid object(s). Different programs have different ways of joining open surfaces into a solid. In this particular case I exported my NURBS model as a Stereolithography (.Stl) file and working with polygons in 3ds max I went over the model and manually fixed the open seams, joining/welding the vertices together where needed. In most cases there are easier ways to prepare a clean Stereolithography model. In fact I would only recommend using this method when working with a highly detailed NURBS model because most simple 3D models should be easy to prepare and convert into .Stl files. Anyhow, if you come across a model that just cannot seem to be prepared as a solid, I definitely think this is the way to go!
Here is a short clip of the 3D Stereolithography model before it was sent to be 3D printed:
Image of the original 3d snowboard binding:
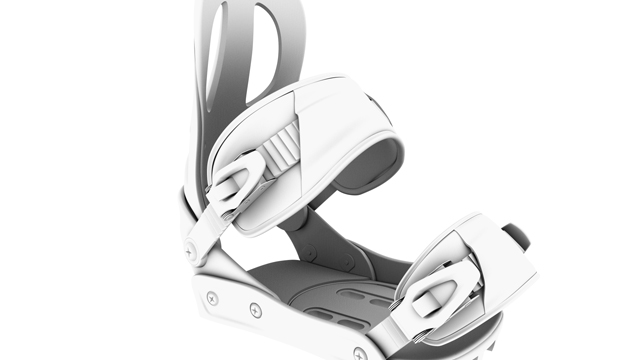
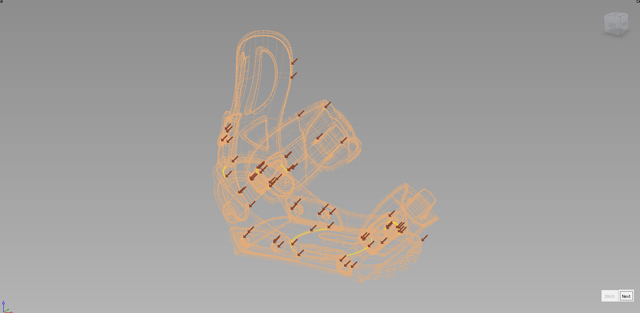
Image of where surface issues were located (in Alias Studio):
Picture of the converted Stl. file (in 3ds max):
Pictures of the physical 3D printed model:

Merry Christmas
Friday February 9, 2012

(Click on image to enlarge)